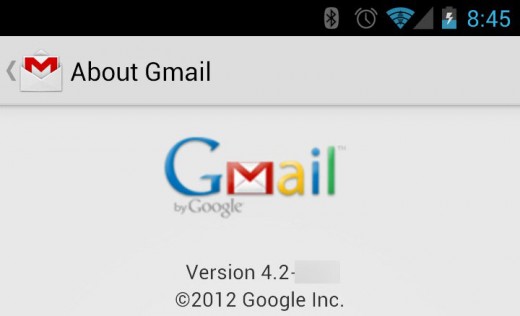
As you probably know, rooting Android has a number of unique benefits. And one of those benefits is access to new apps before they get released for everyone else. Today, we’re going to show you how to install Gmail 4.2 – including pinch-to-zoom – on your rooted Android before everyone else gets it.
Gmail 4.2 features
Gmail 4.2 isn’t a huge update. However, it does include two major usability upgrades that are easy for users to appreciate:
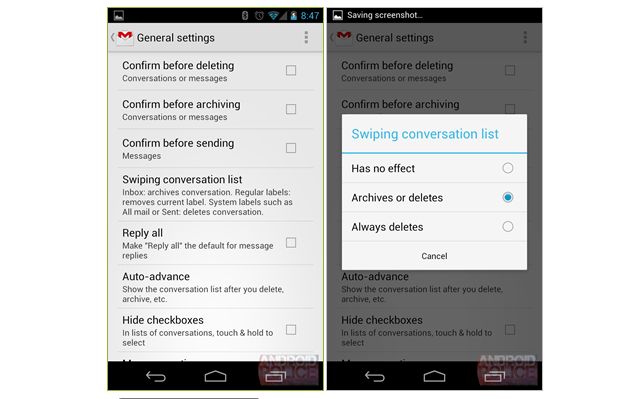
-Swipe to delete, swipe to archive (swipe left or right on the main inbox screen to archive or delete emails)
-Pinch to zoom in on emails
Sure, these features might seem insignificant. But once you start using Gmail 4.2, you’ll realize how difficult it is to go back to the ‘old’ Gmail.

To install Gmail 4.2, you will need to root your device. We’ll be accessing system files for this process, so root access is a must.
How to install Gmail 4.2
Step 1) Download Gmail2.apk from here
Step 2) Backup your Android in case something goes horribly wrong (it probably won’t)
Step 3) Uninstall Gmail.apk and any other Gmail related apps from your device. Delete all Gmail files or move them out of the system/app and data/app folders
Step 4) Reboot your phone after deleting Gmail
Step 5) Move the .apk file onto your phone. Run the .apk file to start the installation process
Step 6) If running the .apk file doesn’t work, then you can put it into your SDK/Platform-Tools folder and type in:
Adb install Gmail2.apk
Which will automatically begin the installation process
Step 7) Gmail 4.2 will now be installed on your Android! Enjoy!
For more details about moving .apk files around and installing other pre-released apps, read our guide about how to install APK files on Android.
