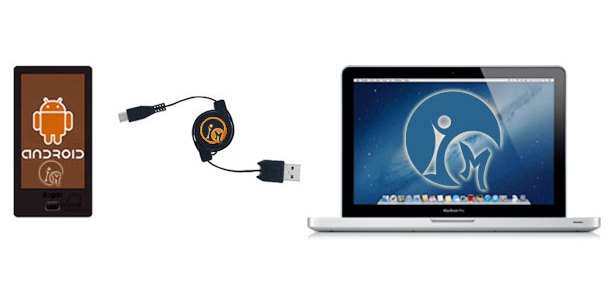
Most people keep a few songs on their smartphone. Some people keep their entire library. But if you can’t figure out how to do either of these things, then here’s a quick guide that will show you how to easily transfer music from your computer to your Android:
For Windows PCs
Step 1) Plug your Android into your computer using a USB to micro-USB cable
Step 2) Wait for the ‘Choose what to do with this device’ menu to pop up, then click Open device to view files
Step 3) If no message pops up after connecting your Android, go to the Computer section of Windows and look for an extra drive. It might have a name like D: or E:. Open that drive to view your list of Android files.
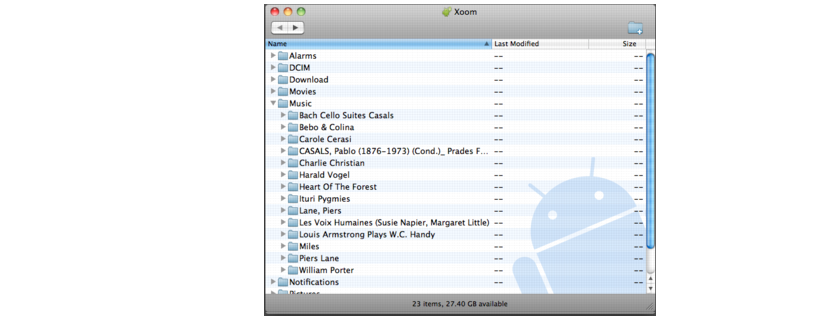
Step 4) Look for the ‘Music’ folder and open it
Step 5) Drag and drop all of the music files you want inside that folder
Step 6) That’s it! Once you’ve added all the music files you want, disconnect the device and you’re done.
For Macs

Macs don’t have the plug and play functionality that Windows PCs do. If you want to transfer files onto your Android using a Mac, you’ll need to download a free program. Follow these steps:
Step 1) Download a free program called File Transfer from the official Android website
Step 2) Install that program
Step 3) Plug your Android into your Mac using the USB/micro USB cable
Step 4) Open the Music folder and drag any audio files you want inside
Transferring music files wirelessly
If you don’t want to mess around with USB cables (or if you just want to impress your friends), then you can transfer music files wirelessly using a program like Kies or SnapPea, both of which allow you to push files to your device when connected to the same wireless network.
