Step-by-Step Guide: How Android Users Can Resize PNG Files Without Losing Quality

Step-by-Step Guide: How Android Users Can Resize PNG Files Without Losing Quality

As an Android user, whether you are creating graphics, rooting your phone, or preparing content for social media, one issue that you may face is resizing PNG images. For instance, you may be handling a logo or a screenshot that you need to resize, but you fear that it will lose the sharpness and quality that makes it unique.

This is a shared concern since resizing images inappropriately may lead to blurred or skewed visuals. Fortunately, with the assistance of Pippit AI (previously Capcut Commerce Pro), you can resize PNG images without losing quality, so your pictures remain sharp and professional.

pippit.capcut.com is an absolutely free web tool that lets you resize PNG images beautifully and efficiently without any loss of original sharpness and clarity. Whether you need to resize your images for posts on social media, personalize your Android device, or get your files ready for email marketing, Pippit AI has got you covered. In this article, we will walk you through step by step on how to resize PNG files for Android-related content creation with no quality loss.


The Effect of File Size and Resolution on PNG Resizing for Android Users

And before we go about resizing PNGs using Pippit AI, just a brief word on why resizing PNGs is useful. PNG or Portable Network Graphics is actually one of the best image formats for Android users since it provides high-quality transparent images, perfect for icons, screenshots, and logos.

Yet, incorrect resizing, particularly expanding or contracting the image too severely, may lead to a loss of crispness and clearness, something that Android users who require clear images for their device interface or developing apps don’t want. If you’re getting graphics ready for your rooted Android phone or developing content for social media, Pippit AI will make your resized PNG images look wonderful and retain their high quality.


How to Resize PNG Images Using Pippit AI: A Simple 3-Step Guide for Android Users

Here’s a simple and fast guide to resize PNG images with Pippit AI. It’s ideal for Android users, from those who are merely personalizing their devices to professionals dealing with Android-first content:


Step 1: Import Your PNG Image into Pippit AI

First, start by going to the Pippit AI website and entering your account credentials. After logging in, navigate to the “Image Studio” and select “Image Editor.” From here, you can upload the PNG picture that you want to resize, whether it is a logo, screenshot, or any other graphic on your Android device. You can even upload more than a single image at once, ideal if you are dealing with multiple files simultaneously for your Android material.

Pippit AI is engineered to deal with large files without compromising on quality. If you’ve recorded a screen capture on your Android device or made a bespoke graphic, the image will stay in focus and sharp during resizing.


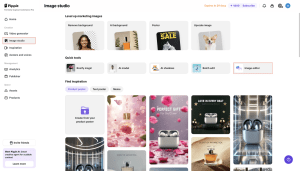
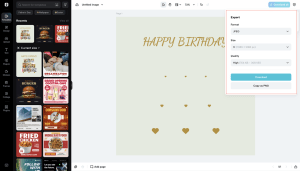
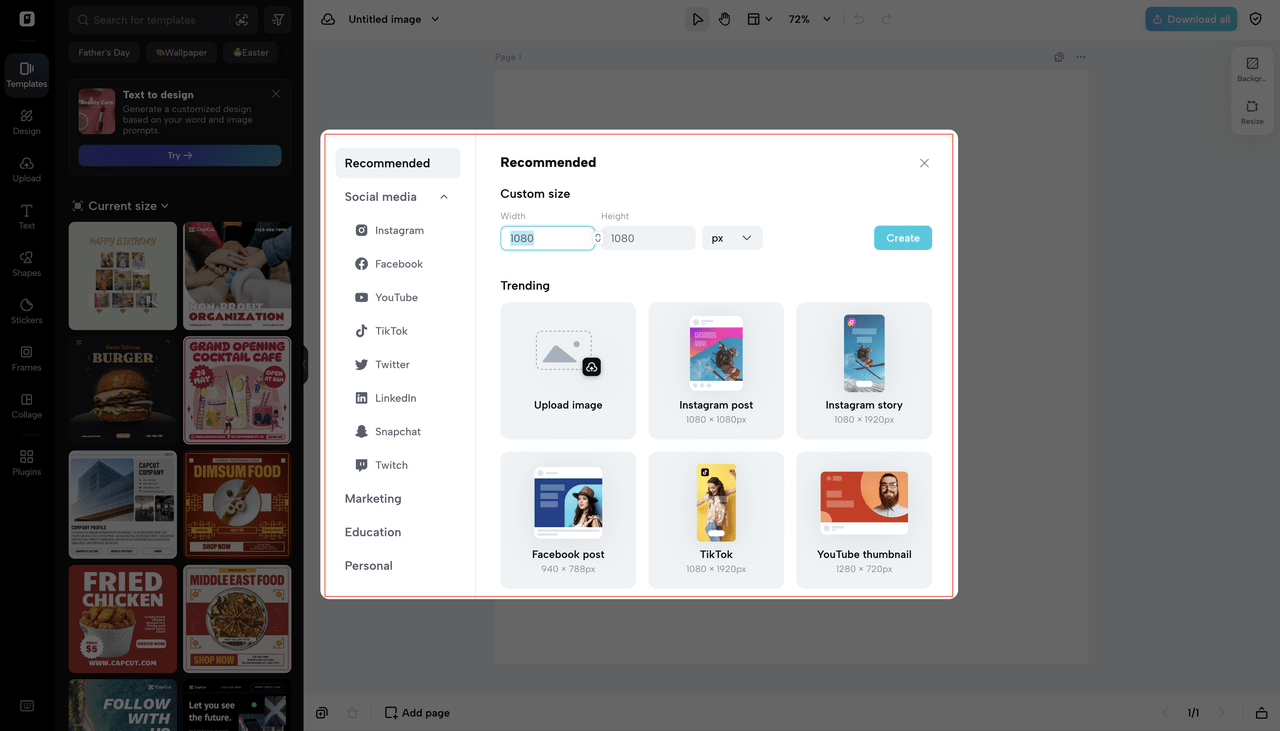
Step 2: Choose the Aspect Ratio and Size

Once you upload your PNG image to the platform, you can choose the new size that you would like. Pippit AI has built-in aspect ratios for many platforms, including some very popular Android-based platforms such as Instagram, Facebook, and Android app icons. You can also enter your custom sizes, ideal for resizing images for your Android device screen or app-specific use cases.

Having the aspect ratio locked guarantees your image doesn’t become stretched or distorted, an important consideration when you’re working with Android interface graphics. If you have to crop or change the aspect ratio, you can unlock this option in Pippit AI and have complete control over how your images resize.


Step 3: Preview and Export Your Resized PNG

After you have chosen the desired size, utilize Pippit AI’s preview feature to view how the resized image will look. This is very important as it lets you assure yourself that the image quality is not lost prior to saving the resize. If you are satisfied with the output, you can just click “Export” to save your resized PNG.

Whether you’re keeping it handy to use on your Android device, sharing it on social media, or submitting it to an app, Pippit AI resizes the image so that it remains sharp and clear.


How Pippit AI Preserves Image Clarity When Resizing for Android Users

You would be curious to know how Pippit AI resizes PNG images without compromising quality. The answer is its powerful technology and high-end algorithms that resize images in a manner that the original pixel data is retained. While increasing image size, Pippit AI smoothes the edges and retains the sharpness of the image so that the output is not pixelated or blurred.

The technology proves particularly useful for Android users who capture screenshots, screen recordings, or rooted Android content frequently for their work. By preserving image quality, you can ensure your Android-related images always appear professional, whether you are presenting modifications or creating content for app icons, wallpapers, or media posts.


Conclusion: Pippit AI Enhances Your Android Customization and Content Creation

Resizing PNG files previously might yield less-than-satisfying outcomes, particularly when dealing with top-of-the-line imagery such as logos, screenshots, or Android device graphics. With Pippit AI, however, resizing is effortless, hassle-free, and effective. The application guarantees that your PNG files will be crisp and professional, making it the perfect solution for Android users who want to handle social media, app development, or device customization content.

By | Posted on June 5, 2025 | Comments Off on Step-by-Step Guide: How Android Users Can Resize PNG Files Without Losing Quality
TEST1