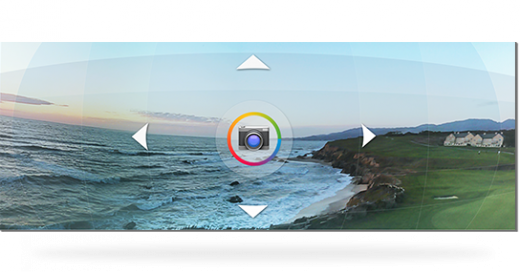
Android 4.2 has already been installed on a wide number of devices around the world. But most users don’t know how to use all of the cool new features in Android 4.2.
If you want to get the most out of your Android 4.2 upgrade, then make sure you’ve taken a peek at all of the following features:
5) Developer Options
Wait a minute. I’m not an Android developer, you’re thinking. I have no right to access developer options in my Android device, right? Wrong! Android 4.2 opens up the Developer Options menu to the general public, meaning anyone can take a look at the inner workings of their device.
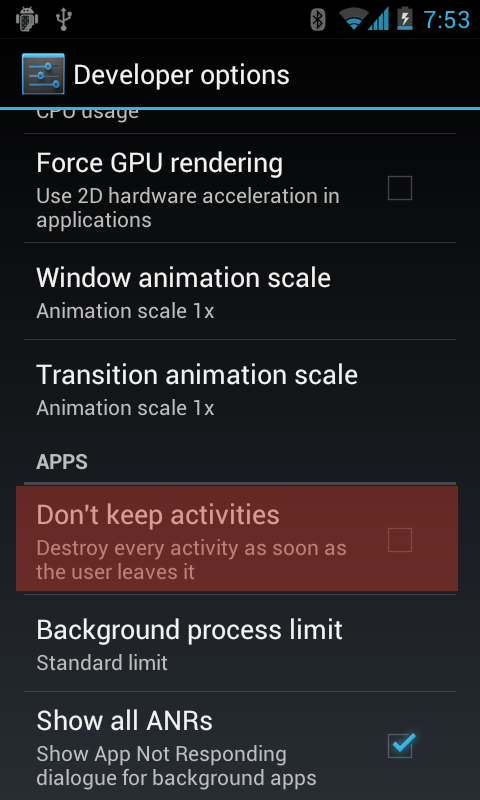
However, the Developer Options menu is hidden within the Settings menu. You can use Developer Options to activate a number of useful features, like debugging mode, bug reports, backup passwords, and more.
4) Add widgets to your lock screen
Prior to Android 4.2, Android widgets were only available on homescreens. If you wanted to add widgets to your lock screen, you were out of luck. Thanks to Android 4.2, adding widgets to your lockscreen is easier than ever. You can add a clock, Gmail, messaging applications, calendars, and whatever other widgets you need directly onto your desktop.
Before you add widgets to your lockscreen, make sure the widgets don’t reveal any sensitive information. For example, if you frequently sext naked pictures of yourself to friends, you might not want to put your messaging application widget directly on your homescreen. The last thing you want is a nosy relative picking up your phone at the next family dinner only to drop it in horror (or worse, look at it appreciatively).
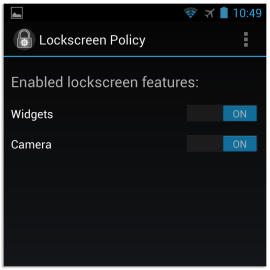
To add widgets to your lockscreen, simply swipe to the left or right until you see your lockscreen. Tap and hold to reveal a list of lockscreen widgets (only five are currently available on non-rooted Android devices). Lockscreen widgets are enabled by default, although you might have to change this setting in the Settings menu if you accidentally disabled it:
3) Edit photos like never before
Whether you’re drawing funny moustaches on your friend’s face or touching up a photo so you don’t look so overweight, there are times when you want to view the original version of the photo you’re currently editing. And Android 4.2 makes checking out the original photo very easy.
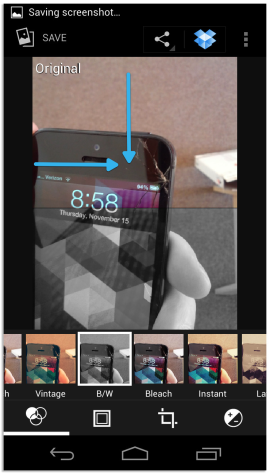
To see the original photo, just tap your finger on the edited photo in the main screen and then swipe to the right or down. When you swipe, Android 4.2 will reveal the original photo, removing any filters, bleaches, or silly moustaches you’ve added to the photo.
2) Flying jelly bean screensavers
As you may be aware, Android 4.2 is nicknamed Jelly Bean. And in honor of that delicious nickname, Google has added a Jelly Bean Daydreams feature to its OS.
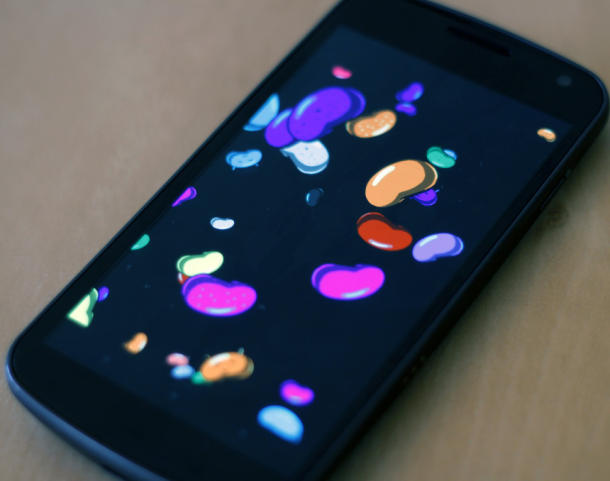
What on earth are Jelly Bean Daydreams, you might ask? Well, they’re screensavers that come preinstalled on your device. These screensavers show jelly beans flying across the screen. They are activated any time your device is charging or docked. So instead of showing a plain old boring black screen, Android 4.2 makes everything a little more colorful.
Although Android 4.2 comes with five pre-installed Jelly Bean screensavers, there is a secret sixth mode called Bean Flinger that can be unlocked through this guide, as revealed by CNet.
1) Take 360 degree panoramic pictures using Photo Sphere
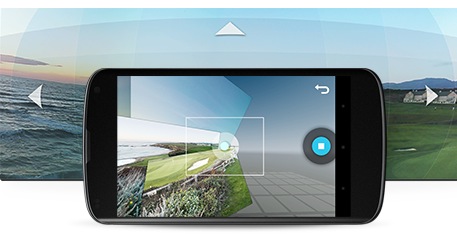
If you use Google Earth a lot, then you may have noticed an occasional panoramic shot in important locations. These panoramic shots provide a 360 degree view of a certain environment. And now you – the average Android user – can take 360 degree panoramic shots with a tap of your finger.
Android 4.2 added a 360 degree panorama feature called Photo Sphere to the OS. Photo Sphere automatically collects data as you spin around with your Android phone and puts that data together into a cool-looking picture.
To activate Photo Sphere, launch the camera app and click on the Photo Sphere icon. Then, Android will ask you to line up the camera with a dot on screen. You hold the camera there for a few seconds before moving onto the next dot, and then the next one, until you have created a complete panoramic shot.
