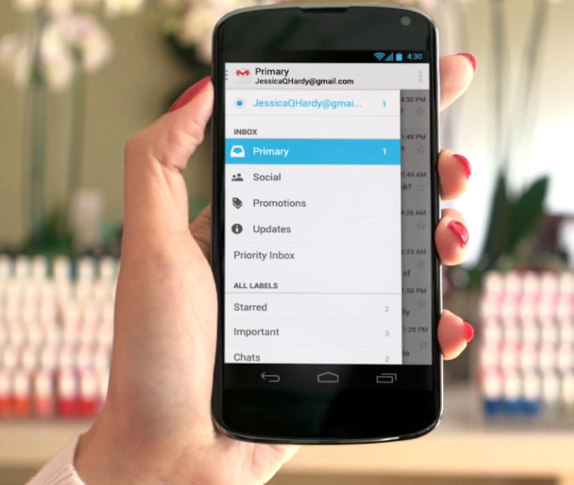
Google continues to tweak its Gmail app. And the latest update introduced colorful icons beside each message in your inbox.
These colors correspond to specific letters of the alphabet, and I totally didn’t realize what those letters meant until I looked a little more closely at my Gmail screen (the letters in the colored box correspond to the first letter of the contact name).
I’m not a Gmail power user, but I’ve discovered some Gmail tips and tricks for Android that will help you become more productive while using your Gmail app.
5) Be a smarter searcher
Google is an incredibly powerful search engine that most people don’t use to its full potential. With the right mix of semi-colons, commas, quotation markets, and other mysterious symbols, you can narrow down a search to find just about anything on the internet.
Google’s Gmail search feature – like the search engine itself – is surprisingly powerful. But knowing how to search can be tricky. With a little practice, you can search for emails from specific contacts that use specific keywords or specific attachment information that were sent over the last few days (specifically).
Here’s an example:
One Click Root,in:sent,newer_than:2d
With that search term, the Gmail app will look for emails about One Click Root that I have sent within the last two days. It may look like another language, but it’s probably not as hard as you think. Check out Google’s official list of advanced search operators to start searching like never before.
4) Tweak notifications for productivity

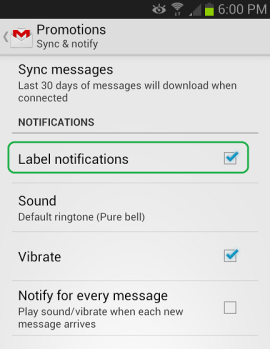
I’m working. I hear my Android make a funny sound. I look at the email on my phone and half an hour later I’m on some bizarre subreddit. Android notifications can kill your productivity when used incorrectly, which is why you should spend some time fine-tuning your notifications on Gmail.
You can tweak your notifications to set Gmail to only alert you when certain important emails are received. If you want to be alerted with an email from your boss or mom enters your inbox, you can do that thanks to Gmail’s advanced notifications features. To learn more about setting labels and creating custom notification alerts, check out CNet’s fantastic how-to writeup here.
3) Use your two fingers to their full potential

Check boxes don’t exist in the latest version of Gmail. So how do you choose a specific message? You’ll need to tap the image to the left of your email message.
However, an easier way (especially if you disabled those images), is to simply long press on an email in order to bring up a list of options for that message.
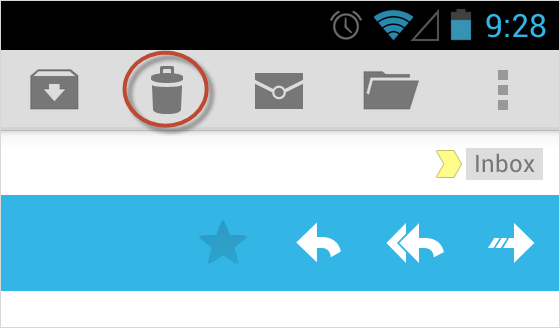
But wait, there’s more. If you use two fingers, you can long press simultaneously on two emails on the same screen. In fact, you can even use three fingers to choose three emails simultaneously. This makes it easier to mass delete a series of spam emails.
2) You can make Gmail smarter

Just like a child, Gmail will be smarter if you take time out of your busy schedule to actually teach it something. Gmail is a smart app, but when you first install it, it’s only guessing at what you want.
Take priority emails as an example. By default, Gmail marks some pretty unimportant emails as important. If you receive an email marked as important, tap the menu button in the top right corner of your screen and click ‘Mark not important’. Do the same thing for important emails that Gmail marked as unimportant.
It will take a few days, and Gmail will always make mistakes, but before long, Gmail will be surprisingly good at sorting between important emails and unimportant emails without any user involvement.
1) Auto-advance through new messages

Out all of the tips listed here, this tip is the simplest and easiest way to save time. By default, Gmail sends users back to the inbox after reading, archiving, or deleting each email. But why bother with that extra click when you can auto-advance through all new messages?
To do that, go to Menu > Settings > General Settings > Auto-advance and then choose Newer or Older based on whether you want to read through messages from new to old or old to new.
It’s a little trick, but it can make a world of difference if you only have a few seconds to scan through your incoming messages.
