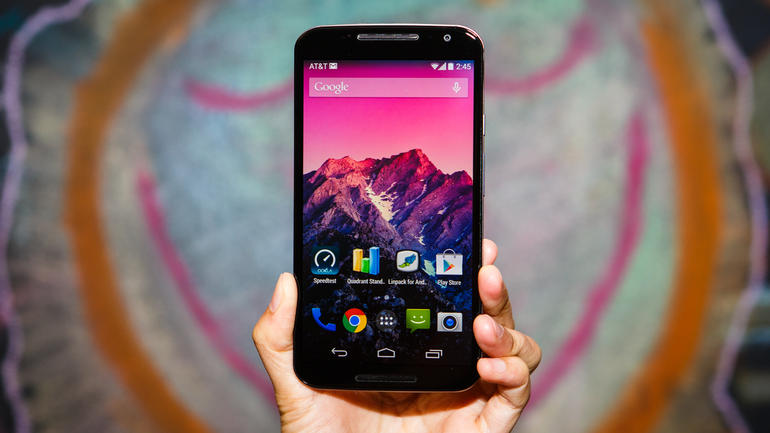
The warping speed of the advancing technology has given rise to Lollipop, that is, Android Version 5.0. It is always a good thing when the next best thing is ready for us to update on our devices and make them faster but for those of us who like to have complete freedom to do anything and everything on our devices, and happen to own a Motorola Moto X then you have chanced upon the perfect article because this article contains the way you can root your Motorola Moto X with Lollipop!
Excited? Me too! But one thing that you need to keep in mind is that your device’s warranty will not stand valid should you decide to root your device and if the rooting goes wrong, no one can help you. Thus, you need to be sure that you can handle this responsibility, because as they say, with great power comes great responsibility and rooting will give you quite a bit of power so make sure you read the instructions carefully. Enough with the bad jokes now.
Just one thing before beginning the rooting process, for those of you who are unaware of the benefits of rooting and are wondering why someone would want to root their device at the cost of its warranty, it is because rooting will enable you to install third party applications of your choice which will enable you to bypass even the pre-installed settings of your phone and enhance the performance of your device. If this makes you convinced to let go of the phone warranty, read on.
If you want to root Motorola Moto X, you need to begin with unlocking it using Chain Fire’s CF-Auto-Root application tool for an easy rooting experience. Easy? Before moving on to what you need to do next, here are a few things you need to keep in mind:
First, make sure that you have installed a Software Development Kit or an SDK from the official Android Developers in your device before rooting it. Second, enable the USB debugging mode. Third, these instructions hold valid to Motorola Moto X specifically and should not be tried on any other device. Next, unless you have installed USB drivers in you computer, it will not be able to recognise your phone. After all this you need to make sure that your phone has minimum 80% battery for an uninterrupted installation process and finally, it is always advisable to have a backup of all your data as rooting might lead to all your data being wiped out.
NOTE: This guide only applies to Moto X variants for which Motorola offers an official boot loader unlock. Please check if your model is supported on the official Motorola web site before attempting this guide.
Once you have made sure that you have taken care of all of the above, you are ready to move on.
Here the the rooting steps that need to be exactly followed:
Step 1: Turn-off of the phone, then enter Bootloader mode, by press holding Volume (Up) + Volume [Down] + Power button.
Step 2: After downloading CF-Auto-Root.zip file from the link given above in to your PC, Unzip the ‘CF-Auto-Root-xxx-xxx-xxx.zip’ file on your computer.
Step 3: Then connect your phone to the PC. After establishing the connection, run the ‘root-windows.bat‘ file.
After this, your device will take a minimum of five minutes to complete the booting process. To make sure that your device has been rooted, you may download the Root Checker app and if it positive, congratulations because you now have the complete control of your Motorola Moto X!
