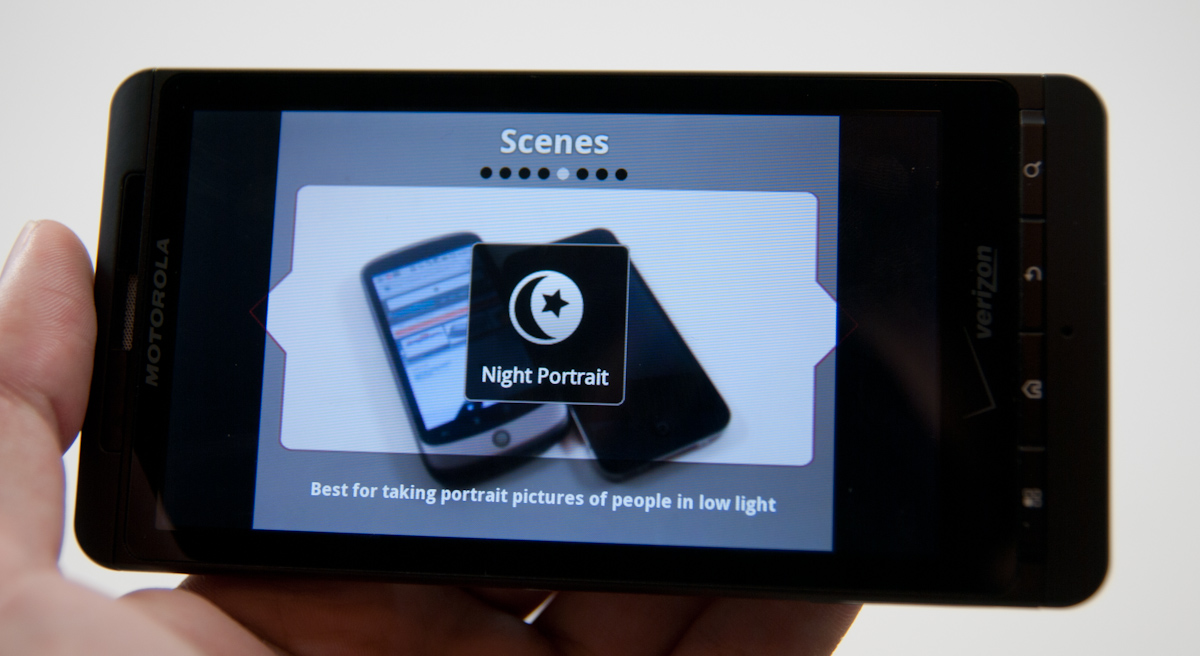
One of the best parts about upgrading to the Galaxy S3 after years of using a BlackBerry was being able to take advantage of a fantastic camera. The Galaxy S3 has one of the best smartphone cameras in the Android world today.
But the Galaxy S3 isn’t alone. Most of today’s powerful Android smartphones have 8MP to 13MP cameras. And all that resolution will go to waste if you don’t know how to properly work the camera.
There are plenty of Android camera tips and tricks that will help users get the most out of their camera. Today, we’re going to go over a few of those tips to show you how to take panoramas, beautiful night shots, and more.
Why you should use flash on sunny days
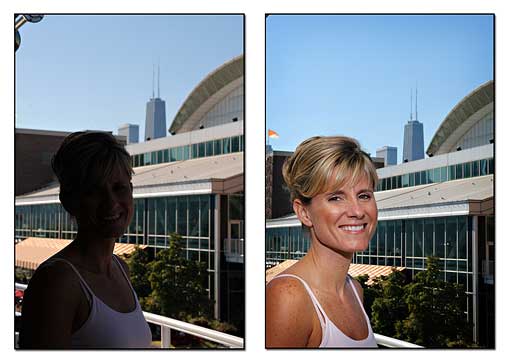
Your Android camera will automatically use flash in dark environments. But most cameras do that. However, few people think of using flash during the day. The truth is: flash can make daytime photos look better than ever before.
Using flash in light environments is known as a fill flash. The extra light from the camera eliminates awkward shadows and illuminates the features that you want to highlight.
To change flash settings, simply go to the Android camera and click on the Settings button. From here, you can choose whether to turn flash On, Auto, or Off. Turn it ‘On’ to activate flash in light environments.
Fill flash is particularly useful for photographs where light is at the subject’s back. If you’re taking a picture of a friend in front of a sunset, for example, then the person’s face may appear dark without flash. Turning flash on will fix this problem and make your pictures look pretty.
Don’t zoom in – here’s a better solution
If you’ve ever tried to take a picture of something that’s far away, then you’ve probably attempted to zoom in on that object by pinching your fingers together on your Android’s screen.
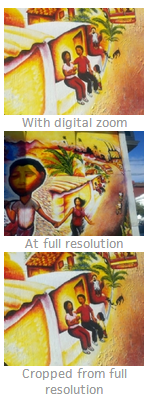
This seems like a good idea, but it’s not. Your Android phone camera does not have a built-in zoom lens. It cannot adjust to focus on faraway objects. Instead of pinching to zoom in on Android, take a normal, zoomed out picture of whatever you’re trying to photograph. Then, crop the parts of the picture that you don’t need. You’re left with a sharp image of the subject you were trying to photograph.
Why does this look better? Well, a digital zoom simply blows up the pixels in the image, giving the illusion of a bigger image. When taking a standard picture and cropping out the subject you’re trying to photograph, it remains at full resolution, which generally results in sharper, crisper photographs.
Use photo editing tools like Snapseed or Instagram
Once you’ve taken your photograph, editing it can bring out a crisper image and more vibrant colors. There are plenty of free editing tools available on Android, but Snapseed is my favorite by far.
With Snapseed, users can use the ‘automatic adjustment’ tool to instantly fine-tune the photograph with the press of a button. This is great for people like me who have no idea how to use filters, saturation, and other settings.
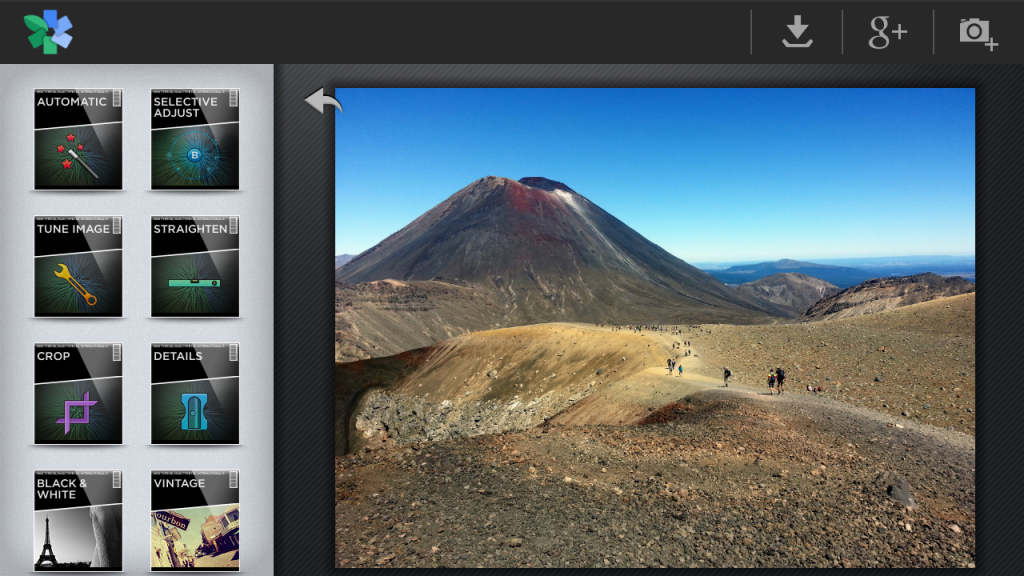
Photo taken with my Samsung Galaxy S III
Meanwhile, those who want to tweak the image manually can do so using the ‘tune image’ button, where settings like saturation, brightness, contrast, and ambiance can all be adjusted.
Instagram works in a similar way. And in just a few seconds on either of these programs, you can make your pictures look their best.
Use the timer
Most Android cameras also have a timer – a feature which the iPhone camera does not have. There have been plenty of times where I have been out with my iPhone-wielding friends only to realize we need a group shot. And if there’s nobody nearby to take that group shot for us, the responsibility turns to me and my Galaxy S3’s timed picture feature.
To use the timed picture feature, go to the Settings menu and look for the ‘Timer’ setting. By default, the timer will be off. Tap the button and select whether you want a 2 second, 5 second, or 10 second time limit.
Note: paid apps like Camera Zoom FX also give Android users the ability to take timed photographs. And one feature I like about Camera Zoom FX is that you can simply shout at it in order to take a picture. So instead of standing there with your hands around your friends awkwardly waiting for the camera to go off, you can yell at your phone and take the picture as soon as you’re ready.
Take a panorama shot
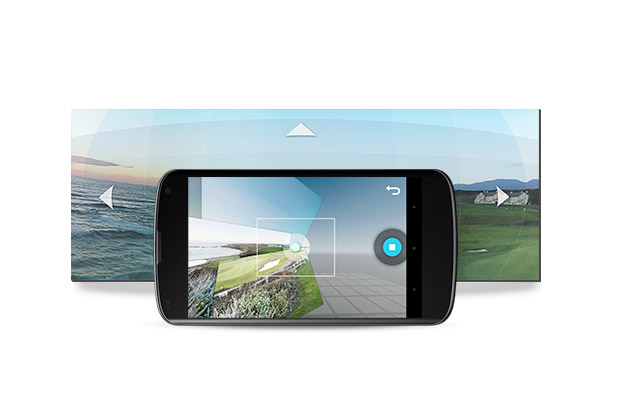
Some Android phones – including the Galaxy S3 – have a panorama feature that lets users take wide angle shots of the surrounding environment. Simply tap the ‘Modes’ button (the rectangle screen-looking button) at the top of the camera app and tap the panorama button. Android will automatically take the first picture before asking users to rotate the camera around and complete the panorama.
Android’s panorama feature takes only seconds to use and can create some stunning photographs – especially when paired with a high resolution smartphone camera.
Take low light shots
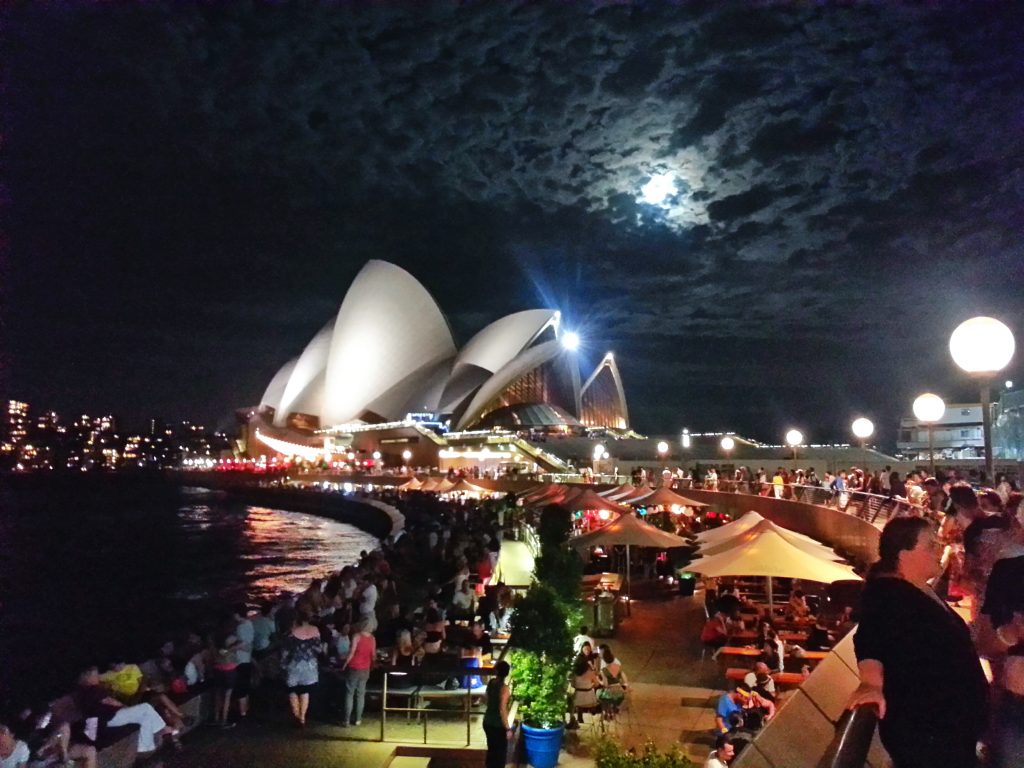
Picture taken with my Samsung Galaxy S III
Under the Modes button, Android users will also see a ‘low light’ setting. The low light setting is designed to absorb the maximum amount of light, which is perfect when taking a night shot.
If the low light picture doesn’t turn out the way you would like, you can also increase the exposure of the photograph under the Settings menu. Look for the Exposure slider and drag it all the way to the right side (positive side).
Clean your lens
We’ve talked a lot about Android’s camera software. But the most important part of any camera is the lens. And no matter what kind of camera apps your phone uses, your pictures will look like crap if you have a dirty lens.
Take a few seconds to wipe off the lens before taking a picture. If you’ve noticed your pictures have become progressively blurry since you bought your Android, then a dirty lens may be the culprit.
These are just a few tips and tricks for Android cameras. We’ll be publishing more camera tips and tricks in the near future. Stay tuned to the One Click Root blog for more!
