Google has finally released Android 9.0 promising a better Android experience and the most user-friendly version so far. If you happen to own a Google Pixel, Pixel XL, Pixel 2, or Pixel 2 XL, here is a step by step method to install the latest OS.
Method 1: Over the Air (OTA) Update
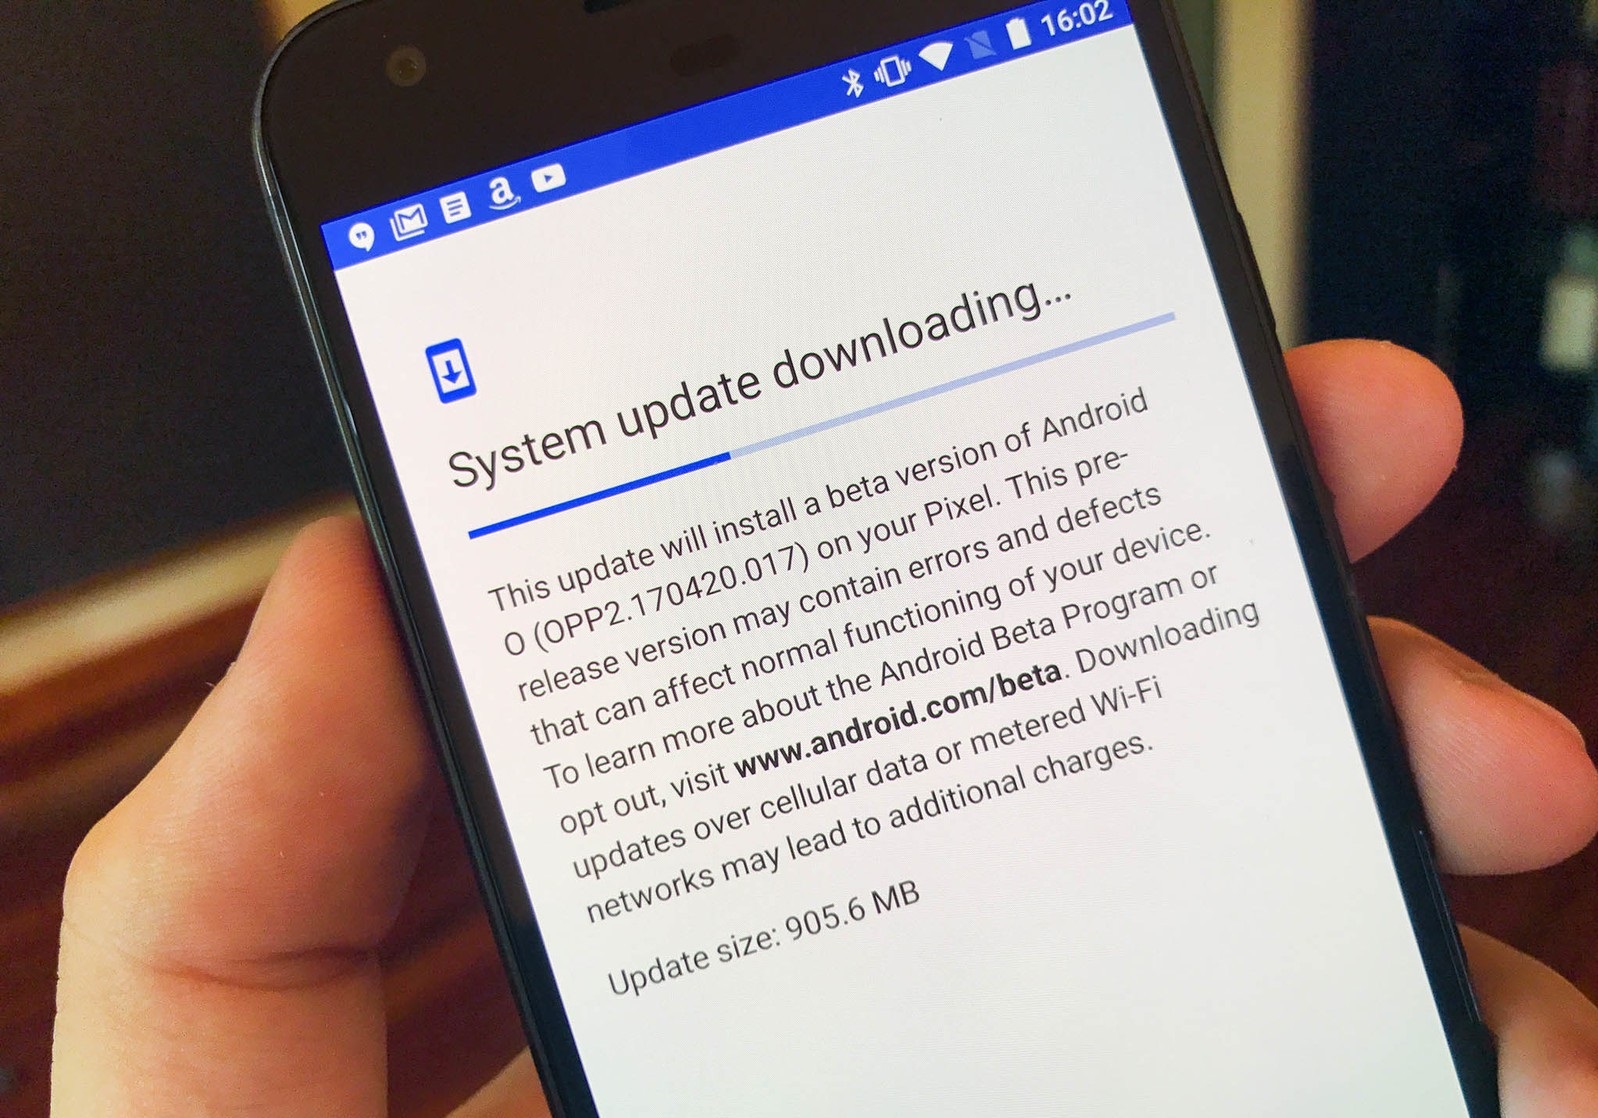
Simply go to Settings menu, select System, System Update, the Check for update. It should automatically download the new version of Android. Reboot your phone after the update has installed and enjoyed the benefits of Android 9.0 Pie in a jiffy.
The OTA might not be available in all phones mentioned above. In this case, you will have to manually update your phone. Simply follow the other methods below.
Method 2: Flashing
Flashing requires more work compared to over the air. You need to manually download the Android Pie factory image and OTA files for all four Pixel phones. You can download it from Google website or any legit website that you trust.
Once you’ve downloaded the file, you’ll need the following: a USB cable to connect to your computer, the Android SDK on your device with ADB and Fastboot command successfully working, a software that can handle .tgz and .tar files such as 7zip, and an unlocked bootloader on your phone.
First, you need to unlock your phone’s bootloader. Here is the step-by-step instruction:
- Enable developer options via Settings>About Phone and tap “Build Number” seven times.
- Enable USB debugging and OEM Unlock on your device in the “Developer options”.
- Plug in the phone to your PC using a USB cable.
- Open the Command Window on your PC.
- Boot your Pixel device into bootloader mode using the following command: “adb reboot bootloader”. If it requests for authorization, say yes.
- When your device is in bootloader mode, type this command: “fastboot flashing unlock”.
- A confirmation screen will appear. Press the volume up key to highlight yes and the power button to select and start the bootloader unlocking process.
- Once unlocked, your device will reboot into bootloader mode. Type in “fastboot reboot” to finish the process.
Second, flash Android P on your device. Make sure to carefully follow the instructions below to avoid errors. Here’s the step-by-step instruction for flashing:
- Test first if your device and PC are communicating. Head to bootloader menu and type “fastboot devices” — it should display your device’s serial number as proof of communication.
- Extract the .tgz file you downloaded (Android Pie factory image). Then, extract the .tar file you extracted from the .tgz. This will extract a folder with several files in it.
- Copy all extracted files and paste them in the platform-tools folder in the Android SDK on your computer. Find it in the Program Files (x86) folder on Windows.
- There are two flash-all files. Windows users should double-click the one that has the gear logo and says “Windows Batch File” on the right. If you’re on Linux, double-click the flash-all.sh.
- A box will pop up and you will see the installation taking place. REMEMBER: Do not unplug your device for any reason!
- When the installation process has finished, your device will automatically reboot. You can now disconnect your device from the computer and enjoy Android P.
There goes Android 9.0 on your Pixel phone! We suggest using the easier OTA method. The flashing method is also not that hard. It’s as easy as 14 steps with a thrill, that is if you love thrills. Enjoy your Android!