One of the biggest joys of rooting is getting to sample new custom ROMs whenever your heart desires.
ROMs change the look and feel of your Android phone or tablet. They can improve performance, boost battery life, and breathe new life into an old device.
But before you enjoy any of these benefits, you need to flash a ROM onto your Android. Today, we’re going to show you how to flash a ROM – even if you have no idea what ‘flash’ or ‘ROM’ actually mean.
What is a custom ROM?
A custom ROM – often just referred to as a ROM – is a modified version of Android. In most cases, these ROMs are made by third parties – like individual developers. Custom ROMs aim to improve various aspects of Android.
Android is open source, which means that anybody can mess around with the source code and release their own ROM.
At first glance, installing a custom ROM seems difficult. But it’s really not. Stick with us and we’ll all get through this together.
Do I need to root my phone to install a custom ROM?
This is where many people get confused. No, you don’t necessarily need to root your phone to install a custom ROM.
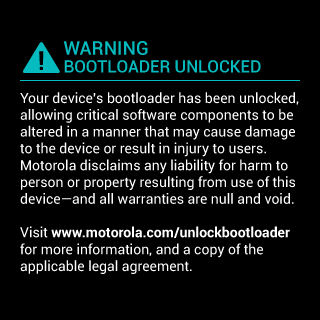
HOWEVER, many popular custom ROMs require root access. Furthermore, you need to unlock your bootloader prior to rooting a device, which is why rooting and installing custom ROMs generally goes hand in hand.
Simply put, most people root their phones like this: first, they unlock their bootloader, which allows them to flash a custom recovery. Then, they grant themselves root access or flash a ROM.

How to flash a ROM
Method 1) Using One Click Root
One Click Root owners can simply attach their phone to their PC via USB cord and run the software. This will root your device and unlock the bootloader.
Once you’ve done that, download a custom ROM .zip file and transfer it to your Android device. Reboot into recovery mode and flash that .zip file to install your ROM.
Method 2) Manually unlocking your bootloader and installing the ROM
If you don’t want to use One Click Root, then that’s fine: these next steps will just be a bit harder and more complicated. First, you need to unlock your bootloader, which involves a different process for each Android phone. Instead of listing each of the thousands of bootloader unlocking processes here, we’re simply going to recommend you Google “unlock bootloader [YOUR PHONE]”.
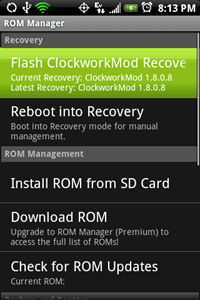
Unless you’re using some obscure phone from Africa or North Korea, you should be able to find plenty of guides to help you. These guides will recommend using either TWRP or ClockworkMod, both of which perform essentially the same task.
Next, you’re going to want to backup your entire Android device using a backup software like Nandroid. Backing up your software is always a good idea – especially when you’re doing something like rooting your device.
To backup your Android device using Nandroid, follow these steps:
Step 1) Install Nandroid from here
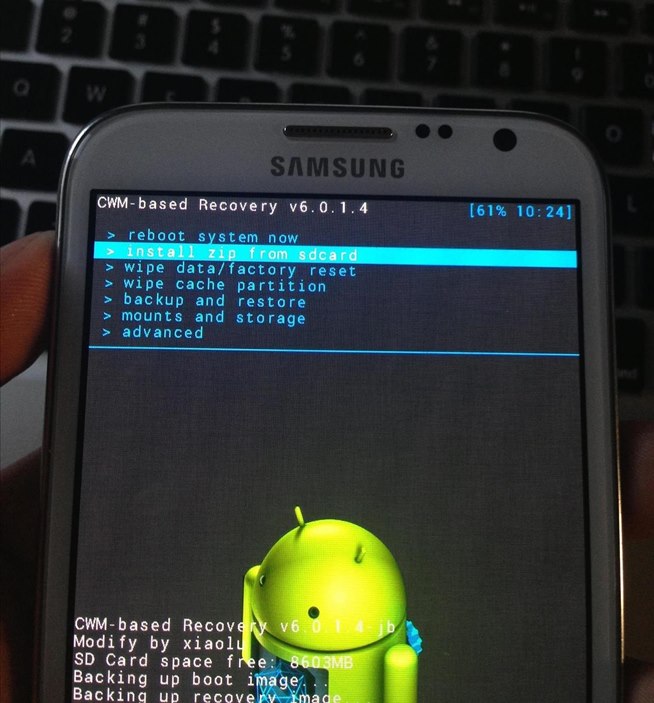
Step 2) Reboot your phone into recovery mode. This is different for all devices, but most popular devices enter recovery mode by pressing the Power and Volume Down buttons at the same time when restarting.
Step 3) Once in recovery mode, go to Backup or Nandroid and look through the settings. You don’t need to change anything here unless you want to (although you might want to name your backup).
Step 4) Wait for the backup to finish, which can actually take quite a bit of time
If you want to backup all your settings and app information while you’re at it, install Titanium Backup and run that the same way. With Titanium Backup, you can even back up your phone’s information to Dropbox.
 Now you’re ready to get flashing! To flash a ROM, follow these steps:
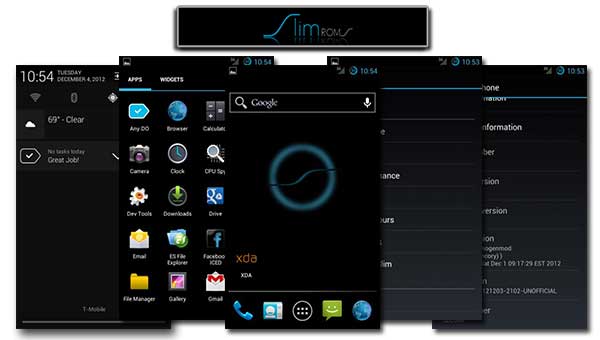
Step 1) Find a good ROM. The 5 most popular ROMs in the Android community include CyanogenMod, Android Open Kang Project (AOKP), MIUI, Slim ICS, and Liquid Smooth ROMs. You can find more ROMs at the XDA Developers Forum and other sources online. Download that ROM and save it to your phone as a .zip file (it may be easier to download it to your PC and transfer it over micro-USB).
Step 2) Reboot your phone into recovery mode once again
Step 3) Scroll through the list until you find the .zip file you just downloaded. Tap it on the list to flash it.
Step 4) Wait for the flashing process to complete. This takes a few minutes.
Step 5) If you have any previous ROM installed on your phone, then this is the point where you should wipe your data and cache. To do that in ClockworkMod, go to Wipe Data/Factory Reset or choose Wipe Cache Partition. To do that in TWRP, look under the Wipe section. If you’ve never installed a ROM on this phone, then you don’t need to do this.
Step 6) Reboot your device and you’ll enter your brand new Android operating environment
Step 7) The last step is to download important Google apps, which don’t come bundled with your ROM. To do that, go to this page: http://wiki.rootzwiki.com/Google_Apps and download the latest package of Google Apps that you need. Move the .zip file to your Android device and flash that .zip file like you would flash a custom ROM. If you don’t do this step, you won’t have access to the Google Play Store.
That’s it! Congratulations! You just flashed your first custom ROM. Not that hard, right? Basically, you just backup your Android, download a custom ROM .zip file, flash that .zip file in recovery mode, and you’re done!
